Accessing your Raspberry Pi outside your home network opens up countless possibilities, from remote monitoring to managing projects on the go. Whether you're a hobbyist or a professional developer, understanding how to set up secure remote access is essential for maximizing the potential of your Raspberry Pi. This guide will walk you through everything you need to know about accessing your Raspberry Pi remotely while ensuring security and reliability.
Remote access to your Raspberry Pi allows you to control and manage it from anywhere in the world. This capability is particularly useful for projects that require constant monitoring or for those who travel frequently but still want to keep an eye on their devices. By following the steps outlined in this article, you'll be able to access your Raspberry Pi securely and efficiently.
In this comprehensive guide, we'll cover various methods and tools to access your Raspberry Pi outside your home network. From setting up SSH tunnels to using third-party services like ngrok, you'll learn the best practices to ensure your data remains secure while granting remote access. Let's dive in!
Read also:The Rookie Ripper Actor
Table of Contents
- Understanding Remote Access
- Methods to Access Raspberry Pi Outside Your Network
- Setting Up SSH for Remote Access
- Using ngrok for Secure Tunneling
- Dynamic DNS for Easy Access
- Configuring Port Forwarding
- Enhancing Security for Remote Connections
- Troubleshooting Common Issues
- Best Practices for Remote Access
- Conclusion and Next Steps
Understanding Remote Access
What is Remote Access?
Remote access refers to the ability to connect to and control a device or system from a different location. In the context of Raspberry Pi, remote access allows you to interact with your device as if you were physically present, even when you're miles away. This is particularly useful for managing headless setups or troubleshooting issues without needing physical access.
When you ask, "How do I access my Raspberry Pi outside my home network?", you're essentially looking for ways to establish a secure and stable connection between your Pi and an external device over the internet. This involves configuring your Raspberry Pi and your home network to allow incoming connections while maintaining security.
Methods to Access Raspberry Pi Outside Your Network
Various Tools and Techniques
There are several methods to access your Raspberry Pi remotely. Below are some of the most popular techniques:
- SSH (Secure Shell): A widely used protocol for secure remote connections.
- ngrok: A third-party service that creates secure tunnels for remote access.
- Dynamic DNS: A service that maps your dynamic IP address to a static domain name.
- Port Forwarding: Configuring your router to forward specific ports to your Raspberry Pi.
Each method has its advantages and limitations, and the choice depends on your specific needs and the level of security you require.
Setting Up SSH for Remote Access
Configuring SSH on Raspberry Pi
SSH is one of the most reliable ways to access your Raspberry Pi remotely. Here's how you can set it up:
Read also:The Richest Real Housewives
- Enable SSH on Raspberry Pi: Open the terminal and run the command `sudo raspi-config`. Navigate to "Interfacing Options" and enable SSH.
- Find Your Pi's IP Address: Use the command `ifconfig` or `ip addr` to find the local IP address of your Raspberry Pi.
- Connect to Your Pi: From another device, use an SSH client like PuTTY (Windows) or the terminal (Linux/Mac) to connect to your Pi's IP address.
SSH provides a secure and encrypted connection, making it a preferred choice for remote access. However, to access your Pi outside your home network, you'll need additional configurations like port forwarding or dynamic DNS.
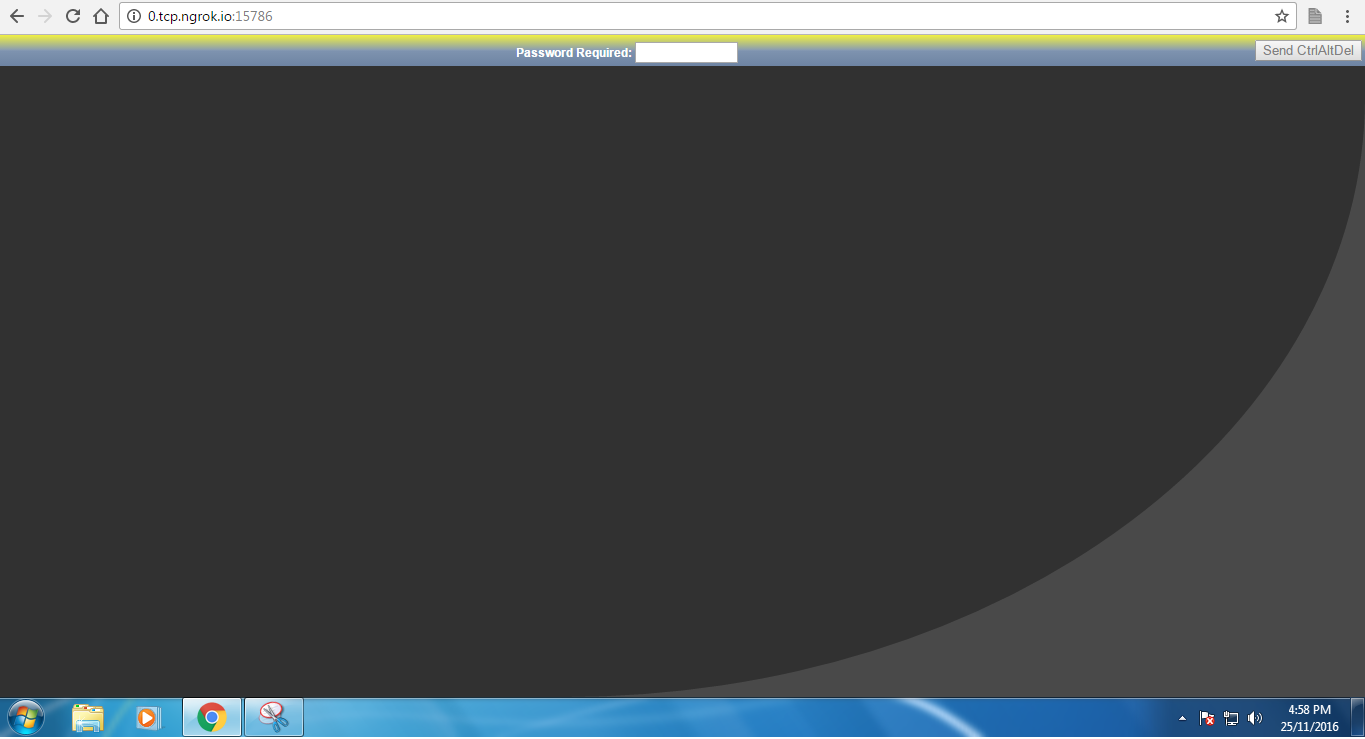
Using ngrok for Secure Tunneling
What is ngrok?
ngrok is a popular tool that allows you to expose local servers to the internet securely. Here's how you can use ngrok to access your Raspberry Pi:
- Install ngrok: Download and install ngrok on your Raspberry Pi from the official website.
- Start ngrok: Run the command `./ngrok tcp 22` to create a secure tunnel for SSH connections.
- Connect via ngrok: Use the public URL provided by ngrok to connect to your Pi from anywhere.
ngrok simplifies the process of setting up remote access without requiring complex configurations. It's especially useful for temporary or experimental setups.
Dynamic DNS for Easy Access
Why Use Dynamic DNS?
Dynamic DNS (DDNS) is a service that maps your changing IP address to a static domain name. This makes it easier to access your Raspberry Pi without needing to remember your IP address. Popular DDNS providers include No-IP, DuckDNS, and Dynu.
To set up DDNS:
- Sign Up: Create an account with a DDNS provider and choose a domain name.
- Configure Your Router: Most modern routers support DDNS. Log in to your router's settings and configure it to update your domain with your current IP address.
- Test the Connection: Use your domain name to connect to your Raspberry Pi from outside your network.
Dynamic DNS is a convenient solution for maintaining consistent access to your Pi, even if your ISP changes your IP address frequently.
Configuring Port Forwarding
What is Port Forwarding?
Port forwarding allows you to direct incoming traffic from the internet to a specific device on your local network. To configure port forwarding for your Raspberry Pi:
- Log in to Your Router: Access your router's settings using its IP address.
- Find the Port Forwarding Section: Look for a section labeled "Port Forwarding" or "Virtual Servers."
- Set Up Rules: Add a rule to forward port 22 (SSH) to your Raspberry Pi's local IP address.
Port forwarding is essential for accessing your Pi directly over the internet. However, it's crucial to secure your Pi with strong passwords and firewalls to prevent unauthorized access.
Enhancing Security for Remote Connections
Best Security Practices
Security should always be a priority when setting up remote access. Here are some tips to enhance the security of your Raspberry Pi:
- Use Strong Passwords: Avoid using default passwords and choose complex combinations.
- Enable Two-Factor Authentication (2FA): Add an extra layer of security by enabling 2FA for SSH.
- Update Regularly: Keep your Raspberry Pi's software up to date to patch vulnerabilities.
- Use Firewalls: Configure firewalls to restrict access to only necessary ports.
By following these practices, you can significantly reduce the risk of unauthorized access to your Raspberry Pi.
Troubleshooting Common Issues
Identifying and Solving Problems
Even with careful setup, issues can arise when accessing your Raspberry Pi remotely. Here are some common problems and their solutions:
- Connection Refused: Ensure SSH is enabled and the correct ports are forwarded.
- IP Address Issues: Verify your Pi's IP address and check if your router's DHCP settings are stable.
- Firewall Blocks: Check your router's firewall settings to ensure it's not blocking incoming connections.
Troubleshooting requires patience and attention to detail, but with the right approach, most issues can be resolved quickly.
Best Practices for Remote Access
Optimizing Your Setup
To make the most of remote access to your Raspberry Pi, consider the following best practices:
- Regular Backups: Always back up your data to prevent loss in case of hardware failure.
- Monitor Activity: Keep track of login attempts and connections to detect any suspicious activity.
- Stay Updated: Follow the latest developments in remote access technologies to improve your setup.
By adhering to these practices, you can ensure a smooth and secure remote access experience with your Raspberry Pi.
Conclusion and Next Steps
In conclusion, accessing your Raspberry Pi outside your home network is a powerful capability that opens up numerous possibilities for your projects. By following the steps outlined in this guide, you can set up secure and reliable remote access using methods like SSH, ngrok, and dynamic DNS. Remember to prioritize security and stay updated with the latest best practices to protect your device from potential threats.
We encourage you to share this article with others who might find it useful and leave a comment below if you have any questions or suggestions. For more in-depth guides and tips, explore our other articles on Raspberry Pi and related technologies. Happy tinkering!