Are you looking for a cost-effective way to enhance your network security and privacy? A Raspberry Pi router firewall VPN might just be the solution you need. This versatile single-board computer can be configured to act as a secure gateway, protecting your devices from potential cyber threats while ensuring your online activities remain private.
As more people work from home and rely on the internet for various activities, the need for secure networking solutions has never been greater. With a Raspberry Pi router firewall VPN, you can take control of your network's security and privacy, all while learning valuable skills in the process.
In this comprehensive guide, we'll walk you through everything you need to know about setting up your Raspberry Pi as a router firewall VPN. From the basics to advanced configurations, we've got you covered. Let's dive in!
Read also:Gabbie Marshall Boyfriend Spencer
Table of Contents
- Introduction to Raspberry Pi Router Firewall VPN
- Understanding Raspberry Pi Basics
- Benefits of Using Raspberry Pi as a Router Firewall VPN
- The Setup Process
- Configuring the Firewall
- Setting Up the VPN
- Managing Your Network
- Common Issues and Troubleshooting
- Optimizing Your Raspberry Pi Router
- Conclusion and Next Steps
Introduction to Raspberry Pi Router Firewall VPN
The concept of turning a Raspberry Pi into a router firewall VPN has gained significant traction among tech enthusiasts and security-conscious individuals. A Raspberry Pi, despite its small size, is a powerful tool capable of handling complex tasks. When configured correctly, it can serve as a robust security layer for your home or office network.
Using a Raspberry Pi for this purpose offers several advantages. First, it is highly customizable, allowing users to tailor the setup to their specific needs. Second, it is energy-efficient, consuming significantly less power compared to traditional routers. Lastly, it provides an excellent learning opportunity for those interested in networking and cybersecurity.
In the following sections, we will explore the benefits, setup process, and best practices for configuring your Raspberry Pi as a router firewall VPN.
Understanding Raspberry Pi Basics
Before diving into the specifics of setting up a Raspberry Pi router firewall VPN, it's essential to understand the basics of the device itself. The Raspberry Pi is a single-board computer developed by the Raspberry Pi Foundation. It was initially designed to promote computer science education but has since found applications in various fields, from home automation to industrial projects.
There are several models of Raspberry Pi available, each with varying specifications. For the purpose of setting up a router firewall VPN, the Raspberry Pi 4 Model B is recommended due to its processing power and USB 3.0 ports, which are crucial for handling network traffic efficiently.
Key features of the Raspberry Pi include:
Read also:Sexy Asian Actresses
- Compact size
- Low power consumption
- Highly customizable
- Support for multiple operating systems
Benefits of Using Raspberry Pi as a Router Firewall VPN
Using a Raspberry Pi as a router firewall VPN offers numerous benefits that make it an attractive option for both personal and professional use. Here are some of the key advantages:
- Enhanced Security: A firewall ensures that unauthorized access to your network is blocked, while a VPN encrypts your internet traffic, protecting your data from prying eyes.
- Cost-Effective: The Raspberry Pi is significantly cheaper than commercial router firewall VPN solutions, making it an excellent choice for budget-conscious users.
- Energy Efficiency: The Raspberry Pi consumes much less power than traditional routers, resulting in lower electricity bills.
- Learning Opportunity: Setting up a Raspberry Pi router firewall VPN is an excellent way to learn about networking, cybersecurity, and Linux-based systems.
These benefits make the Raspberry Pi an ideal choice for anyone looking to improve their network security and privacy.
The Setup Process
Hardware Requirements
To set up your Raspberry Pi as a router firewall VPN, you'll need the following hardware components:
- Raspberry Pi (preferably Model 4)
- MicroSD card (16GB or higher)
- Power supply
- Ethernet cables
- Optional: Wi-Fi adapter for wireless connectivity
Ensure that all components are compatible with your Raspberry Pi model to avoid any issues during the setup process.
Software Installation
Once you have the necessary hardware, the next step is to install the software. The recommended operating system for this setup is Pi-hole, which can be installed on top of Raspbian OS. Here's a step-by-step guide to installing the software:
- Download the latest version of Raspbian OS from the official Raspberry Pi website.
- Use a tool like Etcher to flash the Raspbian image onto your MicroSD card.
- Insert the MicroSD card into your Raspberry Pi and power it on.
- Update the system using the command
sudo apt update && sudo apt upgrade. - Install Pi-hole by following the instructions on the official Pi-hole website.
With the software installed, your Raspberry Pi is now ready to be configured as a router firewall VPN.
Configuring the Firewall
A firewall is a critical component of any secure network setup. For your Raspberry Pi router firewall VPN, we recommend using UFW (Uncomplicated Firewall), a user-friendly front-end for managing firewall rules. Here's how to configure it:
- Install UFW using the command
sudo apt install ufw. - Allow SSH access with the command
sudo ufw allow ssh. - Enable the firewall with the command
sudo ufw enable. - Set default rules to deny incoming traffic and allow outgoing traffic using the commands
sudo ufw default deny incomingandsudo ufw default allow outgoing.
These basic configurations will help protect your network from unauthorized access.
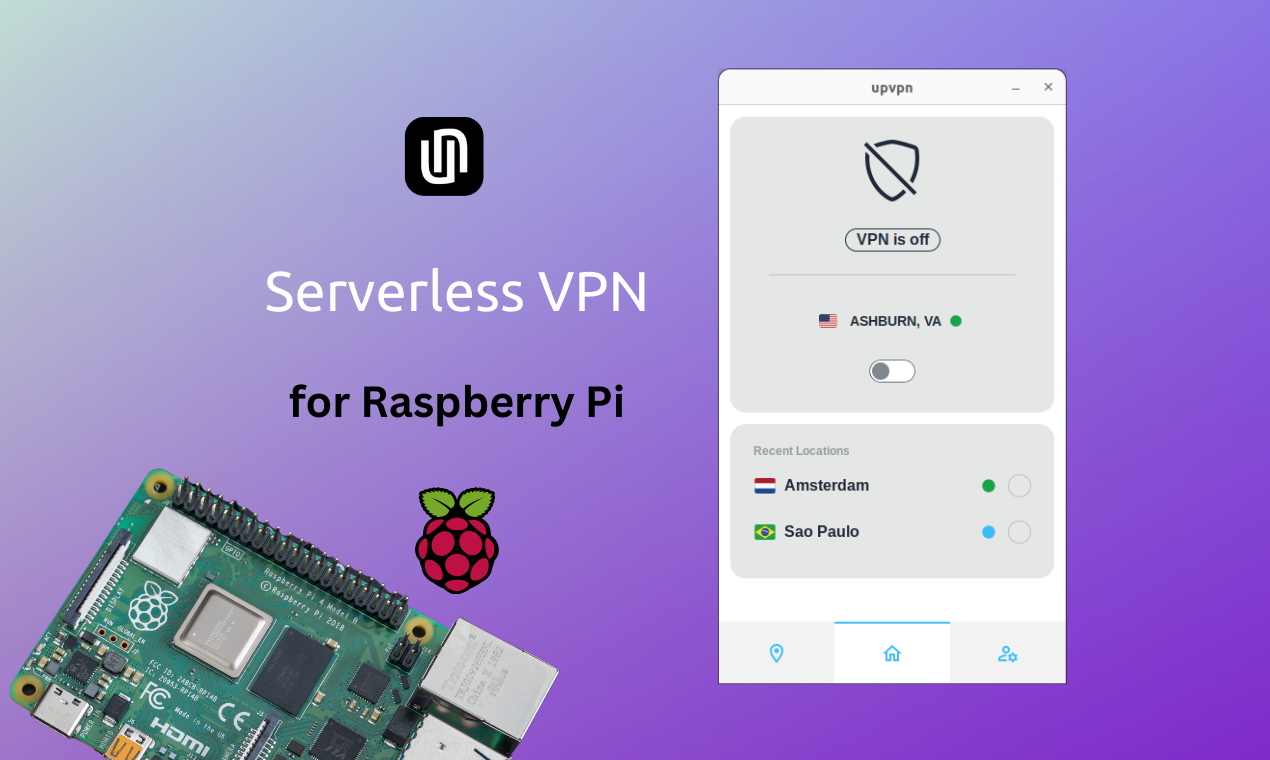
Setting Up the VPN
For the VPN component of your Raspberry Pi router firewall VPN, we recommend using OpenVPN. Here's how to set it up:
- Install OpenVPN using the command
sudo apt install openvpn. - Download your desired VPN provider's configuration files.
- Copy the configuration files to the OpenVPN directory using the command
sudo cp *.ovpn /etc/openvpn/. - Start the OpenVPN service with the command
sudo systemctl start openvpn@config_name.
With OpenVPN installed and configured, your internet traffic will now be encrypted, ensuring your privacy online.
Managing Your Network
Once your Raspberry Pi router firewall VPN is up and running, it's essential to manage it effectively. This includes monitoring network traffic, updating software, and troubleshooting any issues that may arise. Tools like Pi-hole's web interface and command-line utilities can help with these tasks.
Regularly updating your Raspberry Pi's software is crucial to maintaining its security. Use the commands sudo apt update and sudo apt upgrade to keep your system up to date.
Common Issues and Troubleshooting
While setting up a Raspberry Pi router firewall VPN is relatively straightforward, you may encounter some issues. Here are some common problems and their solutions:
- No Internet Connectivity: Ensure that all cables are properly connected and that the correct configuration files are used for the VPN.
- Firewall Blocking Necessary Traffic: Check your UFW rules and adjust them as needed to allow necessary traffic.
- Performance Issues: Consider upgrading your Raspberry Pi model or optimizing your software configurations for better performance.
By addressing these issues promptly, you can ensure a smooth and secure networking experience.
Optimizing Your Raspberry Pi Router
To get the most out of your Raspberry Pi router firewall VPN, consider the following optimization tips:
- Use a fast and reliable MicroSD card to improve system performance.
- Disable unnecessary services to free up system resources.
- Regularly monitor system logs for any potential issues.
These optimizations will help ensure that your Raspberry Pi router firewall VPN runs efficiently and effectively.
Conclusion and Next Steps
In conclusion, transforming your Raspberry Pi into a router firewall VPN is a powerful way to enhance your network security and privacy. By following the steps outlined in this guide, you can set up a robust system that protects your devices and data from potential threats.
We encourage you to share your experience and insights in the comments section below. Additionally, consider exploring other Raspberry Pi projects to further expand your knowledge and skills. Thank you for reading, and happy tinkering!