Establishing remote access with a Raspberry Pi is a powerful way to manage your device from anywhere in the world. Whether you're a tech enthusiast, a professional developer, or simply someone looking to expand the functionality of your Raspberry Pi, remote access can streamline your workflow and increase productivity. In this article, we will explore how you can set up remote access with ease, ensuring that your Raspberry Pi remains secure and accessible.
Remote access to your Raspberry Pi opens up endless possibilities, from running server applications to monitoring IoT devices. However, setting up remote access requires careful planning and execution to avoid security vulnerabilities. This guide will walk you through the necessary steps, tools, and best practices to establish a secure connection.
Whether you're a beginner or an advanced user, this article aims to provide you with the knowledge and confidence to establish remote access connections effectively. Let's dive into the details and learn how to make the most out of your Raspberry Pi's remote capabilities.
Read also:How Tall Is Ricky Montgomery
Table of Contents
- Introduction to Remote Access with Raspberry Pi
- Why Use Remote Access for Raspberry Pi?
- Methods of Establishing Remote Access
- Step-by-Step Guide to Setting Up Remote Access
- Securing Your Remote Access Connection
- Troubleshooting Common Issues
- Additional Tools for Enhanced Functionality
- Applications of Remote Access
- Best Practices for Remote Access
- Conclusion
Introduction to Remote Access with Raspberry Pi
Remote access allows users to control and interact with their Raspberry Pi from a different location. By leveraging tools such as SSH (Secure Shell), VNC (Virtual Network Computing), or third-party applications, you can manage your device as if you were physically present. This capability is especially useful for individuals who frequently travel or work remotely.
Setting up remote access with a Raspberry Pi involves configuring network settings, enabling specific services, and ensuring proper security measures. In this section, we will explore the basics of remote access and its importance in modern computing environments.
What is Remote Access?
Remote access refers to the ability to connect to and control a computer or device from a distant location. For Raspberry Pi users, this means being able to interact with their device without needing physical access to it. Remote access can be achieved through various methods, each with its own set of advantages and limitations.
Benefits of Remote Access
Establishing remote access with a Raspberry Pi offers numerous benefits, including:
- Increased flexibility in managing your device.
- Improved productivity by allowing you to work from anywhere.
- Enhanced security through controlled access methods.
- Cost savings by reducing the need for physical presence.
Why Use Remote Access for Raspberry Pi?
Using remote access for your Raspberry Pi can significantly enhance its utility. Whether you're running a home server, managing IoT devices, or developing applications, remote access provides the convenience and control needed to manage your projects effectively.
Flexibility in Management
With remote access, you can manage your Raspberry Pi from any location, as long as you have an internet connection. This flexibility is invaluable for individuals who travel frequently or work in remote areas.
Read also:Popular Purple Characters
Cost-Effective Solution
Remote access eliminates the need for physical presence, reducing travel costs and saving time. Additionally, it allows you to use your Raspberry Pi as a server or automation hub without the need for constant supervision.
Methods of Establishing Remote Access
There are several methods to establish remote access with a Raspberry Pi. Each method has its own set of requirements and configurations. Below, we will explore some of the most popular methods:
SSH (Secure Shell)
SSH is one of the most common methods for establishing remote access. It provides a secure and encrypted connection, making it ideal for managing sensitive data. To use SSH, you need to enable the SSH service on your Raspberry Pi and configure your network settings accordingly.
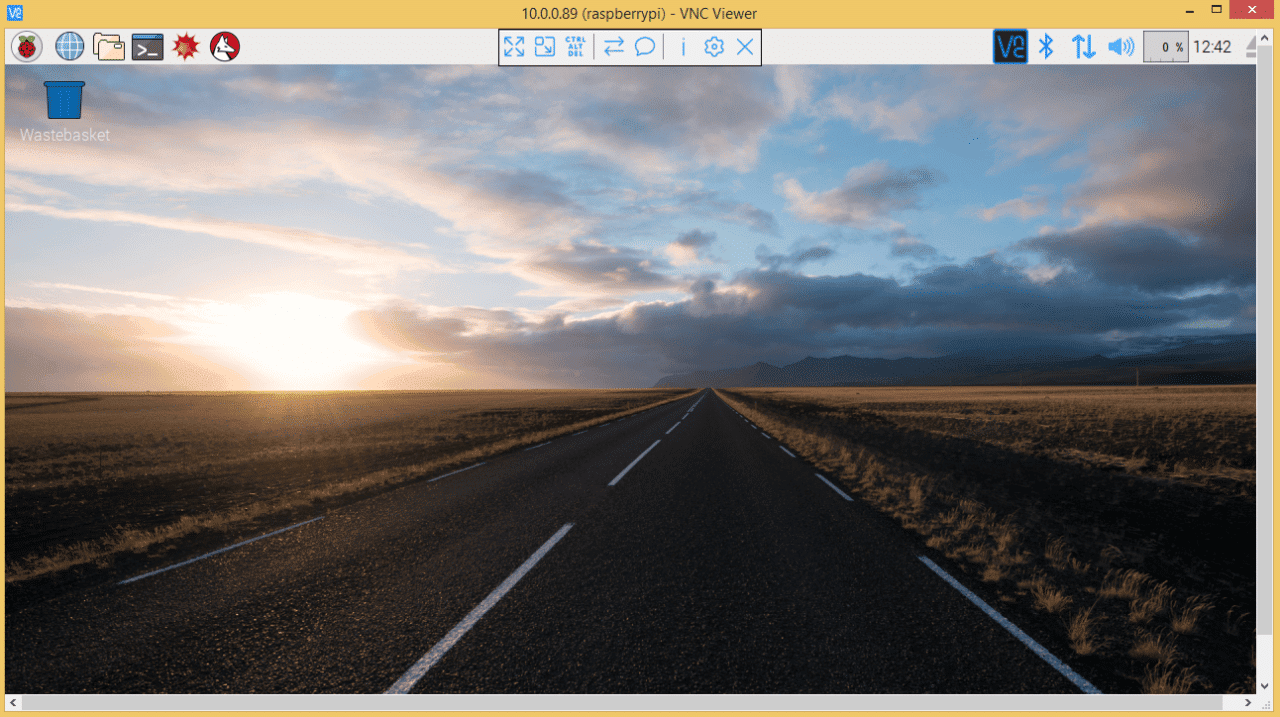
VNC (Virtual Network Computing)
VNC allows you to access the graphical user interface (GUI) of your Raspberry Pi remotely. This method is particularly useful if you need to interact with applications that require a visual interface. Setting up VNC involves installing a VNC server on your Raspberry Pi and using a compatible client on your remote device.
Step-by-Step Guide to Setting Up Remote Access
Now that we understand the importance and methods of remote access, let's dive into a step-by-step guide to setting up remote access with your Raspberry Pi.
Enabling SSH on Raspberry Pi
To enable SSH on your Raspberry Pi, follow these steps:
- Connect your Raspberry Pi to a monitor and keyboard.
- Boot up your Raspberry Pi and log in.
- Open the terminal and type the command:
sudo raspi-config. - Navigate to "Interfacing Options" and select "SSH".
- Choose "Enable" and reboot your Raspberry Pi.
Configuring Network Settings
Once SSH is enabled, you need to configure your network settings to allow remote connections. This involves obtaining the IP address of your Raspberry Pi and ensuring that your router is set up to forward incoming connections to your device.
Using a Third-Party Service
Alternatively, you can use third-party services like ngrok or Pagekite to simplify the process of setting up remote access. These services create a secure tunnel between your Raspberry Pi and the internet, allowing you to connect from anywhere.
Securing Your Remote Access Connection
Security is a critical aspect of remote access. Without proper security measures, your Raspberry Pi could become vulnerable to unauthorized access and cyberattacks. Below are some tips to secure your remote access connection:
Use Strong Passwords
Ensure that your Raspberry Pi and any associated accounts use strong, unique passwords. Avoid using easily guessable combinations and consider enabling two-factor authentication (2FA) for added security.
Enable Firewall
Configure a firewall on your Raspberry Pi to restrict incoming connections to only those that are necessary. This can be done using tools like ufw (Uncomplicated Firewall).
Regular Updates
Keep your Raspberry Pi's operating system and software up to date to protect against known vulnerabilities. Regular updates ensure that your device remains secure and stable.
Troubleshooting Common Issues
Even with careful planning, issues can arise when setting up remote access. Below are some common problems and their solutions:
Connection Timeout
If you're experiencing connection timeouts, check your network settings and ensure that your router is configured correctly. Additionally, verify that the SSH or VNC service is running on your Raspberry Pi.
Incorrect IP Address
Double-check the IP address of your Raspberry Pi to ensure that you're connecting to the correct device. If you're using a dynamic IP address, consider setting up a static IP or using a dynamic DNS service.
Additional Tools for Enhanced Functionality
There are several tools and applications that can enhance your remote access experience with Raspberry Pi. Some popular options include:
TeamViewer
TeamViewer is a powerful remote access tool that offers both free and paid versions. It provides an easy-to-use interface and supports multiple platforms, making it ideal for managing your Raspberry Pi remotely.
AnyDesk
AnyDesk is another popular remote access solution that offers fast and reliable connections. It supports Linux-based systems, including Raspberry Pi, and provides features like file transfer and remote printing.
Applications of Remote Access
Remote access with Raspberry Pi has a wide range of applications, including:
Home Automation
Use your Raspberry Pi as a central hub for managing smart home devices. With remote access, you can control lights, thermostats, and security systems from anywhere in the world.
Web Hosting
Set up a web server on your Raspberry Pi and manage it remotely. This allows you to host websites, applications, and other services without the need for physical access to your device.
Best Practices for Remote Access
To ensure a smooth and secure remote access experience, follow these best practices:
Regular Backups
Regularly back up your Raspberry Pi's data to prevent loss in case of hardware failure or security breaches.
Monitor Activity
Keep an eye on your Raspberry Pi's activity logs to detect any suspicious behavior. This can help you identify and respond to potential threats quickly.
Conclusion
Establishing remote access with a Raspberry Pi is a valuable skill that can enhance your device's functionality and convenience. By following the steps outlined in this guide, you can set up a secure and reliable connection that meets your needs.
We encourage you to share your experience with remote access in the comments below. Additionally, feel free to explore other articles on our site for more tips and tutorials on maximizing your Raspberry Pi's potential. Thank you for reading!