In today's digital age, the concept of remote IoT (Internet of Things) connectivity has become increasingly important. Setting up a Virtual Private Cloud (VPC) with SSH (Secure Shell) for a Raspberry Pi opens up endless possibilities for managing and securing IoT devices remotely. Whether you're a tech enthusiast, a hobbyist, or a professional, understanding how to configure remote IoT VPC SSH Raspberry Pi is a skill that can significantly enhance your projects.
With more devices connecting to the internet every day, ensuring secure and efficient communication between devices is crucial. Remote IoT setups allow users to monitor and control their devices from anywhere in the world, providing convenience and flexibility. This guide will walk you through the process of setting up a VPC and configuring SSH on a Raspberry Pi for remote IoT applications.
Our focus will be on delivering actionable insights and practical steps to help you master this technology. By the end of this article, you'll have a solid understanding of how to secure your IoT devices using VPC and SSH, ensuring they operate seamlessly even when accessed remotely.
Read also:Mtn Nigeria Data Bundles
Table of Contents
- Introduction to RemoteIoT VPC SSH Raspberry Pi
- What is a Virtual Private Cloud (VPC)?
- Understanding SSH for Raspberry Pi
- Why Use VPC with Remote IoT?
- Setting Up a VPC for Remote IoT
- Configuring SSH on Raspberry Pi
- Integrating VPC with Raspberry Pi SSH
- Best Practices for RemoteIoT VPC SSH
- Troubleshooting Common Issues
- Conclusion and Next Steps
Introduction to RemoteIoT VPC SSH Raspberry Pi
RemoteIoT VPC SSH Raspberry Pi is a powerful combination of technologies that enables secure and efficient remote management of IoT devices. A Raspberry Pi, with its compact size and versatility, serves as an excellent platform for deploying IoT solutions. By integrating it with a VPC and SSH, you can ensure that your IoT devices are both accessible and protected from unauthorized access.
The Raspberry Pi, often referred to as a mini-computer, is equipped with the necessary hardware and software capabilities to act as a gateway for IoT devices. When combined with a VPC, it creates a secure network environment that isolates your IoT devices from the public internet. SSH, on the other hand, provides encrypted communication channels, ensuring that data transmitted between your devices and the Raspberry Pi remains confidential.
Together, these technologies form the backbone of modern remote IoT setups. Whether you're managing smart home devices, industrial sensors, or agricultural monitoring systems, understanding how to configure and secure them is essential for their successful operation.
What is a Virtual Private Cloud (VPC)?
A Virtual Private Cloud (VPC) is a virtual network dedicated to your AWS environment. It allows you to launch resources in a logically isolated section of the cloud, where you have complete control over who can access your resources and how they interact with each other. This isolation is critical for remote IoT setups, as it protects your devices from external threats.
Key features of a VPC include:
- Customizable IP address ranges
- Subnet creation for organizing resources
- Security groups and network access control lists (ACLs) for traffic filtering
- Internet gateways for connecting to the public internet
By setting up a VPC, you create a secure and scalable environment for your IoT devices. This ensures that your data remains protected while still being accessible to authorized users.
Read also:Quotes For Seduction
Understanding SSH for Raspberry Pi
SSH (Secure Shell) is a cryptographic network protocol used to secure communications between devices over an unsecured network. When applied to a Raspberry Pi, SSH allows you to remotely access and manage the device from anywhere in the world. This is particularly useful for IoT applications, where physical access to devices may not always be possible.
Key benefits of using SSH on a Raspberry Pi include:
- Encrypted communication for enhanced security
- Remote command execution and file transfer capabilities
- Support for public key authentication for added security
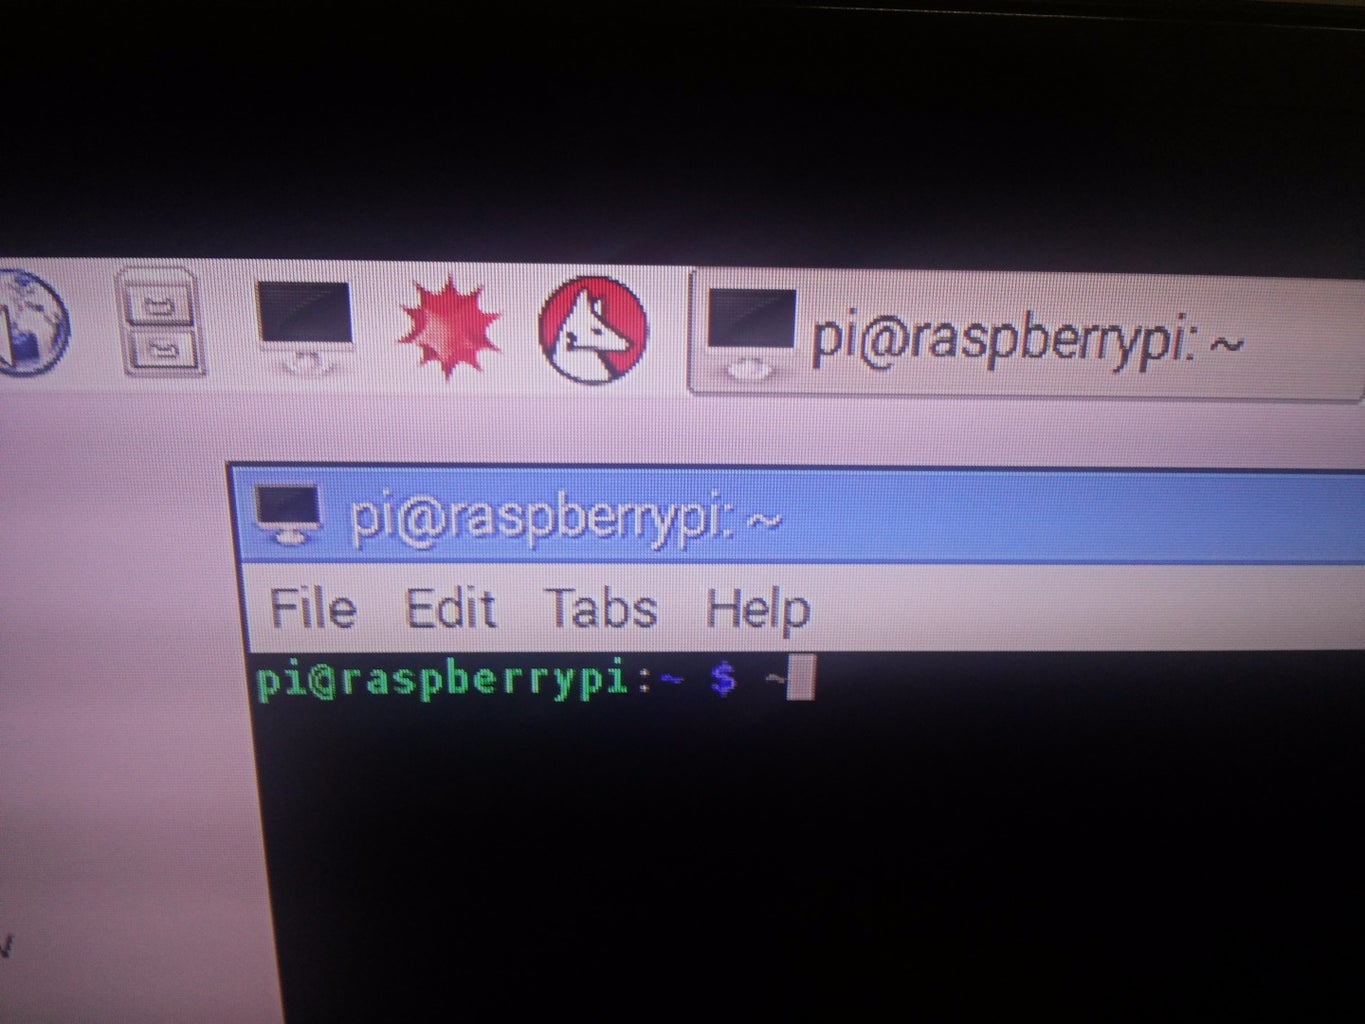
Configuring SSH on a Raspberry Pi involves enabling the SSH service, generating SSH keys, and setting up appropriate firewall rules. Once configured, you can use SSH clients like PuTTY (Windows) or Terminal (Mac/Linux) to connect to your Raspberry Pi securely.
Why Use VPC with Remote IoT?
Using a VPC with remote IoT setups offers several advantages that enhance both security and functionality. Firstly, a VPC provides a secure and isolated network environment, protecting your IoT devices from potential cyber threats. Secondly, it allows for fine-grained control over network traffic, ensuring that only authorized devices and users can access your IoT network.
In addition to security, a VPC also offers scalability. As your IoT setup grows, you can easily add more devices and resources to your VPC without compromising performance or security. This makes it an ideal solution for both small-scale and enterprise-level IoT deployments.
Setting Up a VPC for Remote IoT
Step 1: Create a VPC Network
Creating a VPC network involves defining the IP address range and setting up subnets for your IoT devices. Start by logging into your AWS Management Console and navigating to the VPC Dashboard. From there, select "Create VPC" and specify the desired IP address range for your network.
Once your VPC is created, you can proceed to set up subnets. Subnets allow you to organize your resources into logical groups, making it easier to manage and secure your network. For example, you might create separate subnets for your IoT devices, Raspberry Pi, and any other resources you plan to include in your VPC.
Step 2: Configure Subnets and Security Groups
After setting up your VPC and subnets, the next step is to configure security groups. Security groups act as virtual firewalls, controlling inbound and outbound traffic to your resources. To ensure secure communication between your IoT devices and Raspberry Pi, you should create security group rules that allow SSH traffic (port 22) while blocking all other unnecessary traffic.
Additionally, you can configure network ACLs for added security. Network ACLs provide an additional layer of protection by filtering traffic at the subnet level. By combining security groups and network ACLs, you create a robust security framework for your VPC.
Configuring SSH on Raspberry Pi
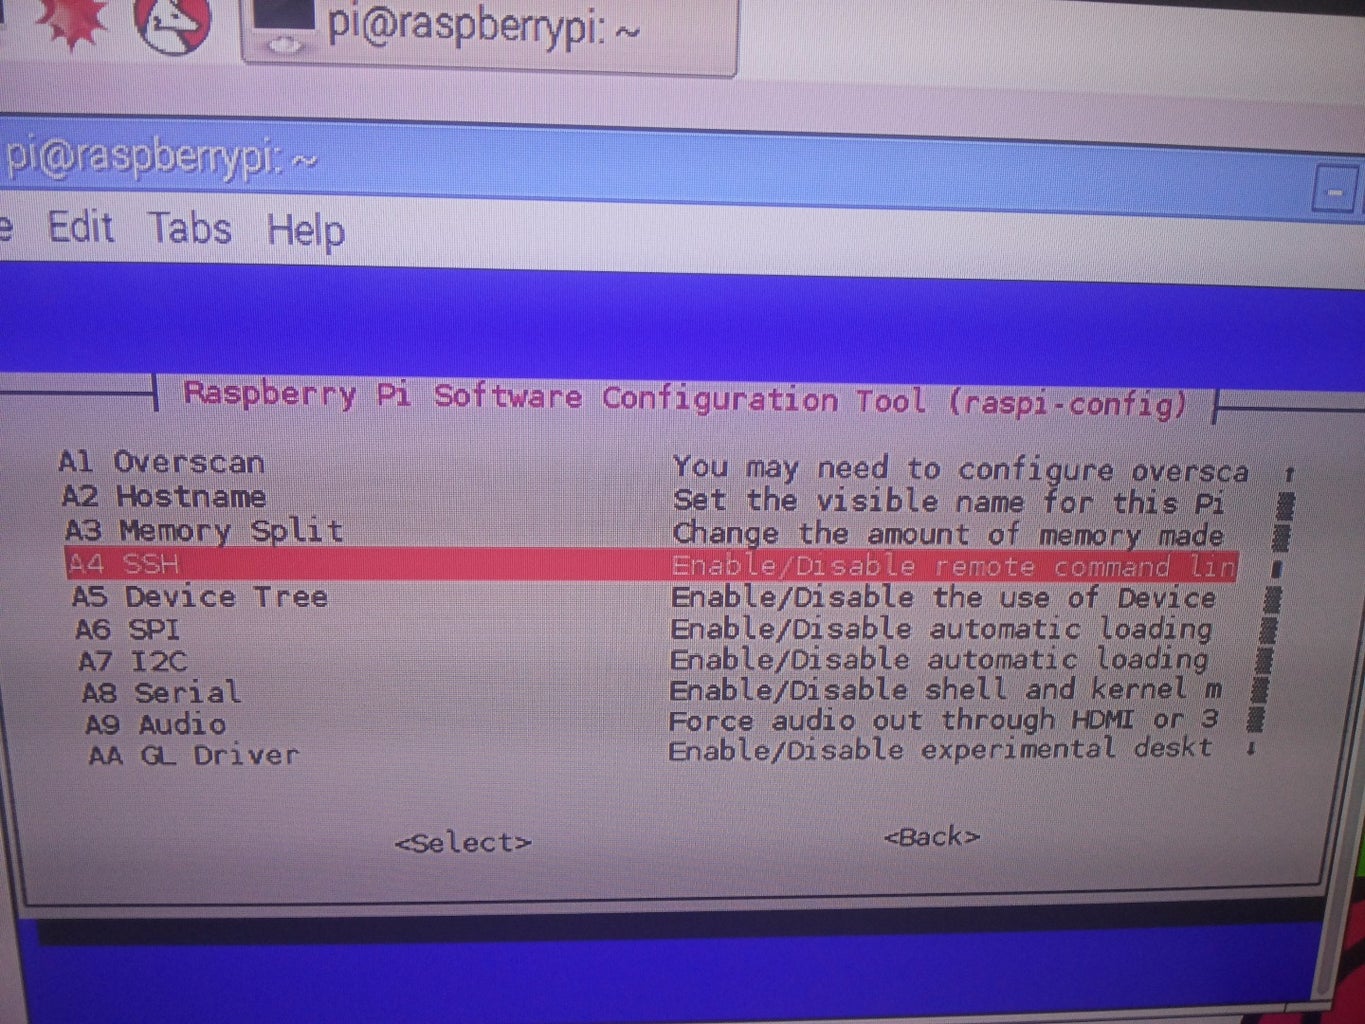
Configuring SSH on a Raspberry Pi involves several steps, including enabling the SSH service, generating SSH keys, and setting up appropriate firewall rules. Start by enabling SSH on your Raspberry Pi using the Raspberry Pi Configuration tool or by creating an empty file named "ssh" on the boot partition.
Next, generate SSH keys using the ssh-keygen command. These keys will be used for authentication when connecting to your Raspberry Pi remotely. Once the keys are generated, copy the public key to your Raspberry Pi using the ssh-copy-id command. This ensures that you can securely connect to your Raspberry Pi without needing to enter a password each time.
Finally, configure your firewall to allow SSH traffic. On most Linux distributions, this can be done using the ufw (Uncomplicated Firewall) tool. Enable SSH by running the command "sudo ufw allow ssh" and then restart the firewall service.
Integrating VPC with Raspberry Pi SSH
Step 1: Assign a Static IP to Raspberry Pi
Assigning a static IP address to your Raspberry Pi ensures that it always has the same address within your VPC. This is important for maintaining consistent communication between your IoT devices and Raspberry Pi. To assign a static IP, edit the dhcpcd.conf file using a text editor like nano or vi.
Add the following lines to the file, replacing the placeholders with your desired IP address, gateway, and DNS server:
- interface eth0
- static ip_address=YOUR_IP_ADDRESS
- static routers=YOUR_GATEWAY
- static domain_name_servers=YOUR_DNS_SERVER
Save the file and restart the networking service for the changes to take effect.
Step 2: Connect Raspberry Pi to VPC
Connecting your Raspberry Pi to your VPC involves configuring its network settings to match those of your VPC. Ensure that the Raspberry Pi is assigned an IP address within the VPC's subnet range and that its default gateway points to the VPC's internet gateway.
Additionally, verify that the Raspberry Pi's security group allows SSH traffic and that its network ACL permits communication with your IoT devices. Once these configurations are complete, your Raspberry Pi should be fully integrated into your VPC, ready to manage and secure your IoT devices.
Best Practices for RemoteIoT VPC SSH
Implementing best practices for remote IoT VPC SSH setups is crucial for maintaining security and reliability. Here are some key recommendations:
- Regularly update your Raspberry Pi's operating system and software to protect against vulnerabilities.
- Use strong, unique passwords and enable two-factor authentication wherever possible.
- Monitor network traffic for suspicious activity and configure alerts for unauthorized access attempts.
- Limit SSH access to trusted IP addresses using security group rules.
By following these best practices, you can ensure that your remote IoT setup remains secure and operational, even in the face of evolving cyber threats.
Troubleshooting Common Issues
Despite careful planning and configuration, issues may arise when setting up remote IoT VPC SSH Raspberry Pi setups. Common problems include connectivity issues, authentication failures, and network misconfigurations. Here are some troubleshooting tips:
- Verify that the Raspberry Pi's IP address is correctly configured and reachable within the VPC.
- Check SSH service status and restart it if necessary using the command "sudo systemctl restart ssh".
- Ensure that security group rules and network ACLs allow necessary traffic.
- Review SSH logs for error messages and take corrective actions based on the findings.
By systematically addressing these issues, you can quickly resolve problems and restore normal operation to your remote IoT setup.
Conclusion and Next Steps
Mastering remote IoT VPC SSH Raspberry Pi setups requires a combination of technical knowledge and practical experience. By following the steps outlined in this guide, you can create a secure and efficient remote IoT environment that meets your needs. Remember to implement best practices and regularly update your configurations to stay ahead of potential threats.
We encourage you to share your experiences and insights in the comments section below. Your feedback helps us improve and provides valuable information to other readers. Additionally, consider exploring related topics, such as advanced IoT security measures and cloud-based IoT platforms, to further enhance your knowledge and skills.
Thank you for reading, and happy tinkering!