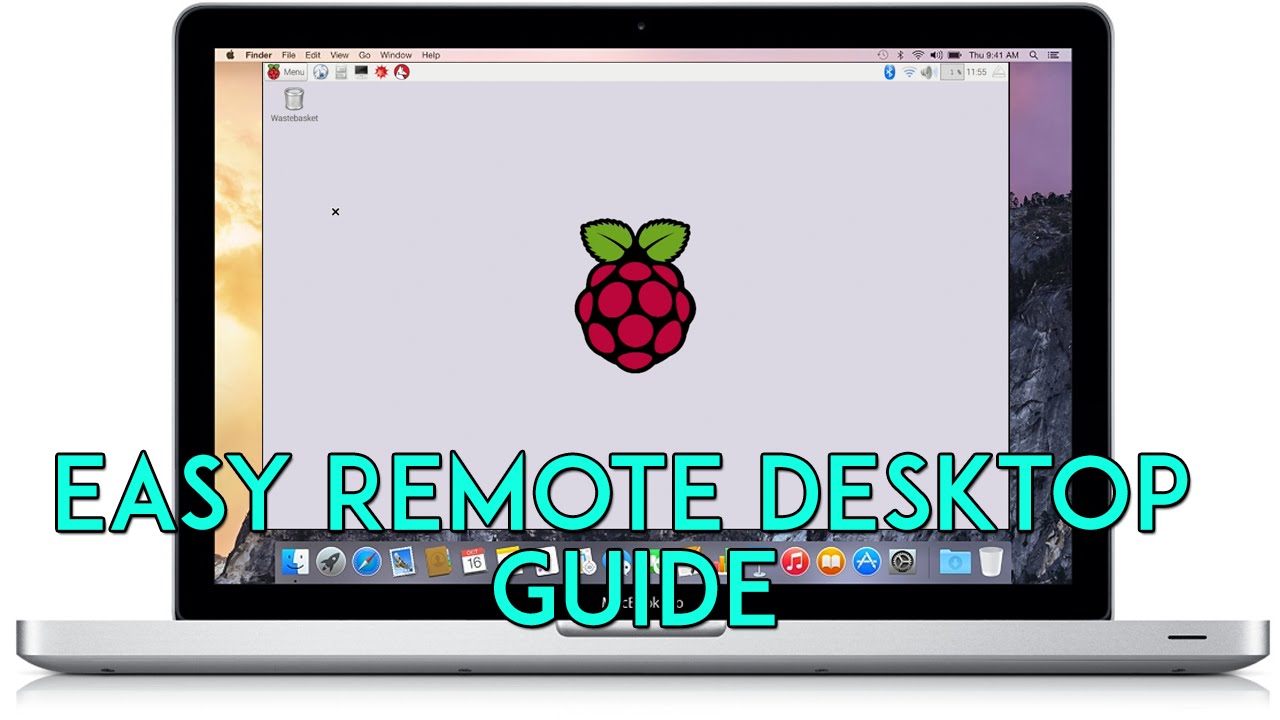
SSH Remote IoT Device Raspberry Pi Free Download for Mac has become increasingly popular as more users seek to control their devices remotely. With the rise of IoT technology, accessing Raspberry Pi from a Mac using SSH provides an efficient way to manage projects and automate systems without physical presence. This article will explore everything you need to know about setting up and utilizing SSH for remote access on your Raspberry Pi from a Mac.
As remote work and automation become integral parts of modern technology, having the ability to remotely access IoT devices has never been more critical. Whether you're a hobbyist or a professional developer, understanding SSH and its implementation is essential for maintaining and managing your Raspberry Pi projects.
Throughout this guide, we'll cover the fundamentals of SSH, step-by-step instructions for setting it up, troubleshooting tips, and advanced techniques to enhance security. By the end, you'll have a thorough understanding of how to download and configure SSH for your Raspberry Pi remotely from a Mac.
Read also:Montana Jordan Salary
Table of Contents
- Introduction to SSH
- Raspberry Pi Overview
- Setting Up SSH on Raspberry Pi
- Connecting SSH from Mac
- Free SSH Tools for Mac
- Securing Your SSH Connection
- Troubleshooting Tips
- Advanced SSH Configurations
- Integrating SSH with IoT Devices
- Conclusion
Introduction to SSH
SSH, or Secure Shell, is a cryptographic network protocol used for secure communication between devices. It is widely employed for remote system administration and file transfer. Understanding SSH is crucial when working with IoT devices like Raspberry Pi.
SSH ensures data integrity and confidentiality through encryption, making it a reliable choice for remote access. This section will delve into the basics of SSH and why it's indispensable for Raspberry Pi users.
Key features of SSH include:
- Secure data transfer
- Authentication mechanisms
- Command execution over network
Raspberry Pi Overview
The Raspberry Pi is a versatile single-board computer designed for educational purposes and DIY projects. Its affordability and flexibility make it a popular choice for IoT applications.
With the ability to run various operating systems, the Raspberry Pi serves as an ideal platform for experimenting with SSH remote access. This section will provide an overview of the Raspberry Pi's capabilities and its role in IoT projects.
Some key points about Raspberry Pi:
Read also:Quotes For Seduction
- Compact and affordable hardware
- Supports multiple operating systems
- Wide range of GPIO pins for interfacing
Setting Up SSH on Raspberry Pi
Enabling SSH on Raspberry Pi OS
Enabling SSH on your Raspberry Pi is a straightforward process. Follow these steps to activate SSH on your device:
- Boot your Raspberry Pi with the latest Raspberry Pi OS.
- Open the terminal and type
sudo raspi-config. - Navigate to
Interfacing Optionsand selectSSH. - Choose
Yesto enable SSH. - Reboot your Raspberry Pi to apply changes.
Verifying SSH Status
After enabling SSH, verify its status by running:
sudo service ssh status
This command will confirm whether SSH is active and running on your Raspberry Pi.
Connecting SSH from Mac
Using Terminal for SSH Connection
Mac users can connect to their Raspberry Pi via SSH using the built-in Terminal application. Here's how:
- Open Terminal on your Mac.
- Type
ssh pi@raspberrypi.local. - Enter the password when prompted.
- You are now connected to your Raspberry Pi remotely.
Alternative SSH Clients
While Terminal is a convenient option, there are alternative SSH clients available for Mac users:
Free SSH Tools for Mac
There are numerous free SSH tools available that enhance the remote access experience. These tools offer additional features such as graphical interfaces and session management.
Some recommended free SSH tools for Mac include:
- iTerm2 - Advanced terminal emulator for macOS.
- KiTTY - Lightweight SSH client with customizable settings.
- SSH Agent - Simplifies SSH key management.
Securing Your SSH Connection
Implementing SSH Keys
Using SSH keys instead of passwords adds an extra layer of security to your connection. Generate SSH keys by following these steps:
- Open Terminal and type
ssh-keygen. - Follow the prompts to create a key pair.
- Copy the public key to your Raspberry Pi using
ssh-copy-id pi@raspberrypi.local.
Disabling Password Authentication
To further enhance security, disable password authentication:
- Edit the SSH configuration file with
sudo nano /etc/ssh/sshd_config. - Set
PasswordAuthentication no. - Restart the SSH service with
sudo service ssh restart.
Troubleshooting Tips
Encountering issues while setting up SSH? Here are some common problems and their solutions:
- Connection Refused: Ensure SSH is enabled on your Raspberry Pi and check the network connection.
- Wrong Password: Double-check the password and ensure you're using the correct username (default: pi).
- Timeout Errors: Verify your Raspberry Pi's IP address and ensure it's on the same network as your Mac.
Advanced SSH Configurations
Port Forwarding
Port forwarding allows you to access your Raspberry Pi remotely over the internet. Configure port forwarding in your router's settings to map an external port to your Raspberry Pi's local IP address.
Tunneling
SSH tunneling enables secure communication between applications. Use it to bypass firewalls or encrypt sensitive data transmissions.
Integrating SSH with IoT Devices
SSH plays a vital role in IoT ecosystems by facilitating secure communication between devices. By integrating SSH with IoT devices, you can remotely monitor and control systems, ensuring efficiency and reliability.
Examples of IoT applications leveraging SSH include:
- Smart home automation
- Remote sensor monitoring
- Industrial machine control
Conclusion
SSH Remote IoT Device Raspberry Pi Free Download for Mac is a powerful solution for managing your projects from anywhere. By following the steps outlined in this guide, you can securely set up and utilize SSH for remote access, enhancing your IoT capabilities.
We encourage you to explore the various SSH tools and configurations to find the best setup for your needs. Don't forget to share your experiences in the comments section and check out our other articles for more insights into IoT and Raspberry Pi projects.
References: