Connecting a Raspberry Pi behind a router is a common task for hobbyists, developers, and tech enthusiasts. This setup allows you to create home automation systems, servers, or even remote access solutions without interfering with your main network. In this article, we will explore the best practices and step-by-step methods to ensure your Raspberry Pi is connected securely and efficiently.
As the popularity of Raspberry Pi continues to grow, more people are looking for ways to integrate this versatile device into their home networks. Whether you're setting up a media server, a security camera system, or a personal cloud, understanding how to connect Raspberry Pi behind a router is essential. This article will guide you through the process, ensuring you have a stable and secure connection.
By the end of this guide, you will have a clear understanding of the technical aspects, potential challenges, and solutions to connect Raspberry Pi behind a router. Let's dive in and explore how to make the most out of your Raspberry Pi setup.
Read also:Good Cowboy Quotes
Table of Contents
- Introduction
- Why Connect Raspberry Pi Behind a Router?
- Hardware and Software Needed
- Step-by-Step Guide to Connect Raspberry Pi Behind a Router
- Understanding Port Forwarding
- Network Configuration Basics
- Security Considerations
- Troubleshooting Common Issues
- Advanced Features and Customizations
- Conclusion
Why Connect Raspberry Pi Behind a Router?
Connecting Raspberry Pi behind a router offers numerous benefits, especially for users who want to maintain a secure and private network. Here are some reasons why this setup is advantageous:
- Improved Security: Placing your Raspberry Pi behind a router adds an extra layer of protection, shielding it from external threats.
- Resource Optimization: By isolating the device, you can allocate specific resources and bandwidth to the Raspberry Pi without affecting other devices on the network.
- Flexibility: This setup allows you to experiment with different configurations and projects without disrupting your primary network.
Benefits for Home Users
For home users, connecting Raspberry Pi behind a router provides a simple way to manage multiple devices and applications. Whether you're running a media server or a home automation system, this setup ensures that your network remains organized and efficient.
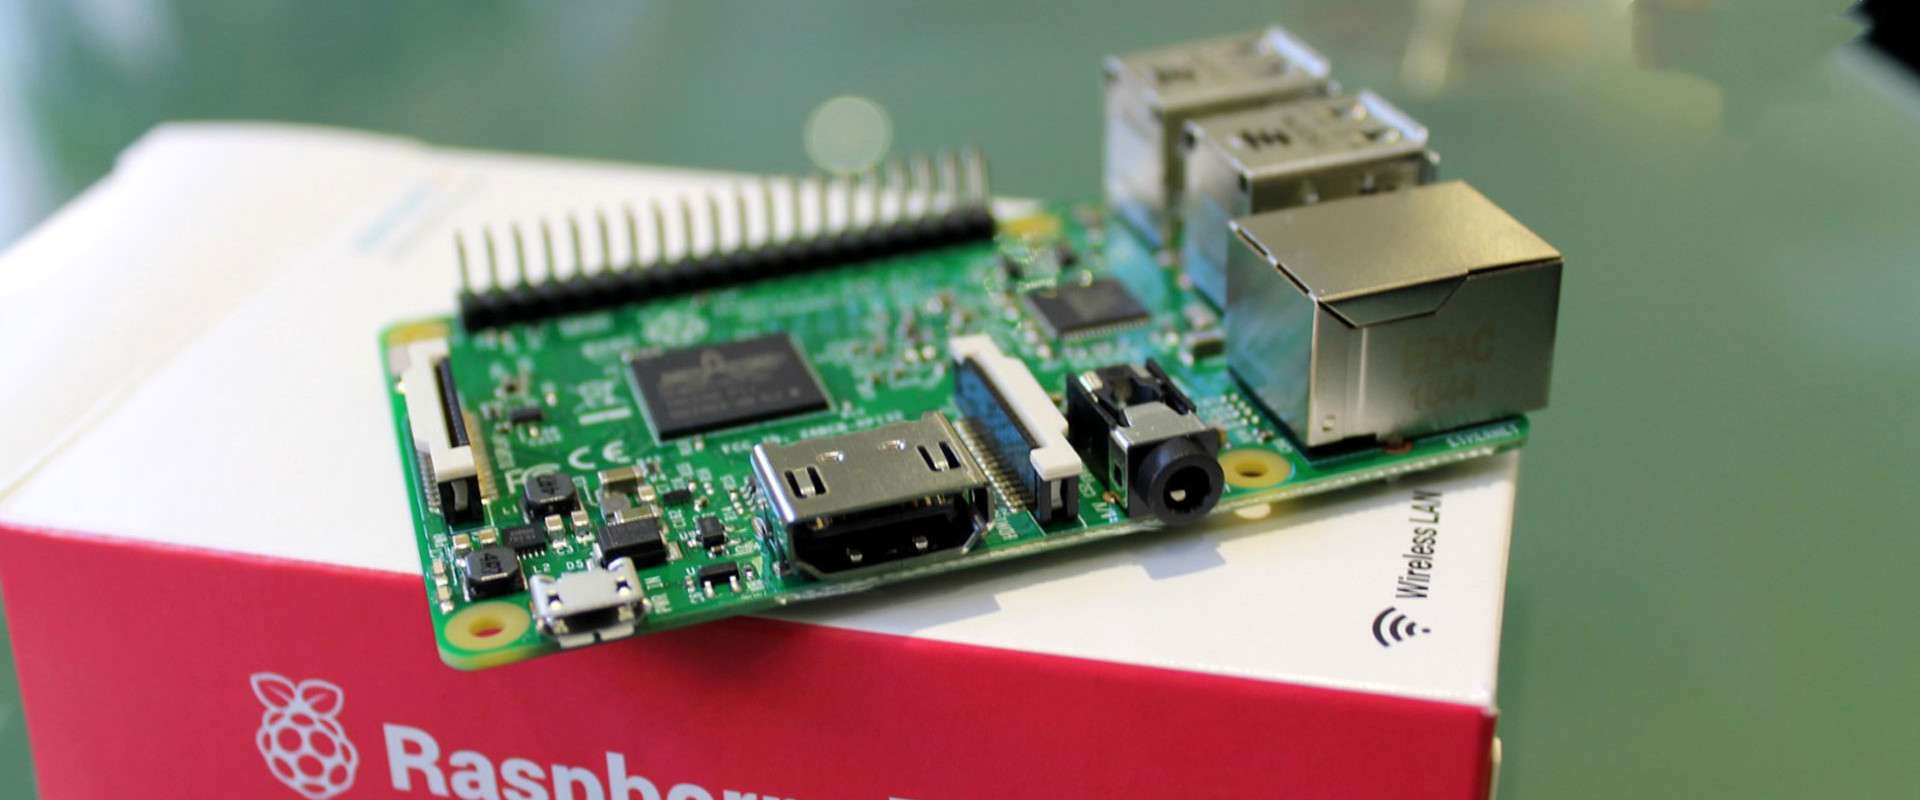
Hardware and Software Needed
Before you begin, ensure you have the necessary hardware and software to connect Raspberry Pi behind a router. Here's a list of essentials:
- Raspberry Pi (any model)
- Power Supply
- MicroSD Card with Raspberry Pi OS installed
- Ethernet Cable (optional, depending on your setup)
- Router with available ports
On the software side, you'll need:
- Raspberry Pi OS
- SSH Client (optional, for remote access)
- Port Forwarding Configuration Tools
Optional Accessories
Consider adding the following accessories to enhance your setup:
- Wi-Fi Dongle (if your Raspberry Pi model doesn't have built-in Wi-Fi)
- External Storage (for additional data handling)
Step-by-Step Guide to Connect Raspberry Pi Behind a Router
Follow these steps to connect your Raspberry Pi behind a router:
Read also:Dstv Packages And Price
Step 1: Set Up Raspberry Pi
Begin by installing Raspberry Pi OS on your microSD card. You can download the latest version from the official Raspberry Pi website. Once installed, boot your Raspberry Pi and ensure it's functioning properly.
Step 2: Connect to the Router
Use an Ethernet cable to connect your Raspberry Pi to the router. Alternatively, configure Wi-Fi settings in Raspberry Pi OS to connect wirelessly.
Step 3: Configure IP Address
Assign a static IP address to your Raspberry Pi to ensure it remains accessible within the network. This can be done through the Raspberry Pi OS network settings or via your router's configuration page.
Understanding Port Forwarding
Port forwarding is a crucial step when connecting Raspberry Pi behind a router. It allows external devices to access services running on your Raspberry Pi. Here's how you can set it up:
- Log in to your router's admin panel.
- Locate the port forwarding section.
- Add a new rule, specifying the external port, internal port, and IP address of your Raspberry Pi.
Best Practices for Port Forwarding
When configuring port forwarding, consider the following best practices:
- Use non-standard ports to enhance security.
- Limit access to specific IP ranges if possible.
- Regularly review and update your port forwarding rules to ensure they align with your current setup.
Network Configuration Basics
Understanding network configuration basics is essential for a successful setup. Here are some key concepts:
- Subnet Mask: Determines the range of IP addresses available on your network.
- Gateway: The IP address of your router, acting as the entry point to the internet.
- DNS Servers: Provide domain name resolution services.
Tips for Network Configuration
When configuring your network, keep the following tips in mind:
- Document your network settings for easy reference.
- Use a consistent naming convention for devices.
- Regularly update your router's firmware to ensure optimal performance and security.
Security Considerations
Security is paramount when connecting Raspberry Pi behind a router. Here are some measures to enhance your setup's security:
- Enable a firewall on your Raspberry Pi.
- Use strong passwords and enable two-factor authentication where possible.
- Regularly update your Raspberry Pi OS and installed software to patch vulnerabilities.
Advanced Security Techniques
For added security, consider implementing the following techniques:
- Use a Virtual Private Network (VPN) to encrypt your data.
- Monitor network traffic for suspicious activity.
Troubleshooting Common Issues
Here are some common issues you might encounter and their solutions:
- No Network Connectivity: Check your Ethernet cable or Wi-Fi settings.
- Unable to Access Services: Verify your port forwarding rules and ensure the service is running.
- Slow Performance: Optimize your network settings and reduce unnecessary processes on your Raspberry Pi.
Diagnostic Tools
Use diagnostic tools like Ping and Traceroute to identify and resolve network issues effectively.
Advanced Features and Customizations
Once your Raspberry Pi is connected behind a router, you can explore advanced features and customizations:
- Set up a Home Automation System using tools like Home Assistant.
- Create a Personal Cloud Storage solution with Nextcloud.
- Run a Media Server with Plex or Kodi.
Customization Tips
When customizing your Raspberry Pi, remember:
- Start with a clear goal in mind to avoid unnecessary complexity.
- Document your customizations for future reference.
Conclusion
Connecting Raspberry Pi behind a router is a straightforward process that offers numerous benefits, including enhanced security and resource optimization. By following the steps outlined in this guide, you can ensure a stable and efficient setup for your projects.
We encourage you to share your experiences and ask questions in the comments section below. Additionally, explore other articles on our site for more tips and tricks to enhance your Raspberry Pi setup.
Stay connected and keep innovating!