Remote IoT monitoring with Raspberry Pi is transforming the way businesses and individuals manage and analyze data in real-time. This innovative technology offers endless possibilities, from home automation to industrial applications. With its affordability and versatility, Raspberry Pi has become the go-to solution for remote monitoring projects.
In today's fast-paced world, staying connected to your devices and systems is crucial. Whether you're managing a smart home, monitoring environmental conditions, or overseeing industrial equipment, remote IoT monitoring with Raspberry Pi provides the tools you need to stay informed and in control.
This comprehensive guide will walk you through everything you need to know about setting up and optimizing a remote IoT monitoring system using Raspberry Pi. From understanding the basics to advanced configurations, we've got you covered. Let's dive in!
Read also:Cruella De Vil Lines
Table of Contents
- What is Remote IoT Monitoring?
- Raspberry Pi: An Overview
- Benefits of Using Raspberry Pi for Remote IoT Monitoring
- Setting Up Your Raspberry Pi for Remote Monitoring
- Connecting Sensors to Raspberry Pi
- Data Collection and Management
- Enabling Remote Access
- Security Considerations
- Applications of Remote IoT Monitoring
- Troubleshooting Tips
What is Remote IoT Monitoring?
Remote IoT monitoring involves using Internet of Things (IoT) devices to collect, transmit, and analyze data from various sensors and systems in real-time. This technology allows users to monitor and manage their systems remotely, enhancing efficiency and reducing downtime.
With remote IoT monitoring, businesses can track critical parameters such as temperature, humidity, pressure, and more, ensuring optimal performance and safety. This capability is particularly valuable in industries like manufacturing, agriculture, healthcare, and smart homes.
By leveraging Raspberry Pi as the central processing unit, users can create cost-effective and scalable remote monitoring solutions tailored to their specific needs.
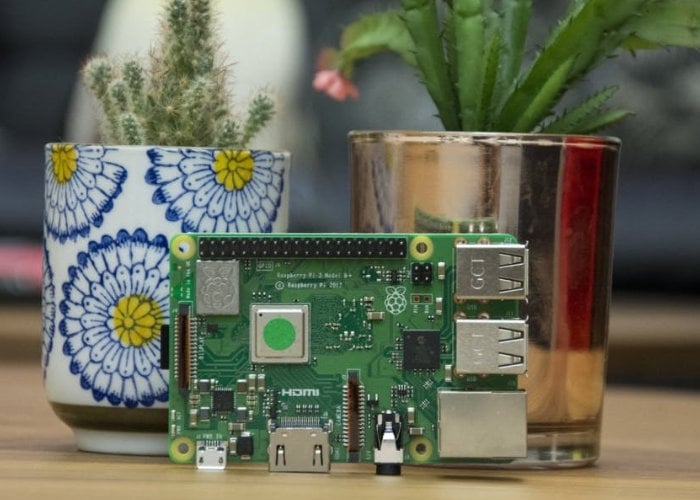
Raspberry Pi: An Overview
Raspberry Pi is a single-board computer designed for educational purposes but has gained immense popularity among hobbyists, developers, and professionals alike. Its compact size, low cost, and versatility make it an ideal platform for a wide range of projects, including remote IoT monitoring.
Key features of Raspberry Pi include:
- Multiple GPIO pins for connecting sensors and peripherals
- Support for various operating systems, including Raspbian, Ubuntu, and others
- Compatibility with numerous programming languages, such as Python, C++, and Java
- Wi-Fi and Bluetooth connectivity for wireless communication
These features make Raspberry Pi a powerful tool for building robust remote monitoring systems.
Read also:Nice Quotes For Sister In Law
Benefits of Using Raspberry Pi for Remote IoT Monitoring
Cost-Effective Solution
Raspberry Pi offers an affordable alternative to traditional industrial-grade hardware. Its low price point makes it accessible to small businesses and individual users who want to implement remote IoT monitoring without breaking the bank.
Flexibility and Scalability
With Raspberry Pi, you can start small and scale up as your needs grow. Whether you're monitoring a single device or an entire network of sensors, Raspberry Pi can handle the workload.
Community Support and Resources
Raspberry Pi has a vast and active community of users who contribute tutorials, code snippets, and projects. This extensive support network ensures that you can find solutions to common issues and inspiration for new ideas.
Setting Up Your Raspberry Pi for Remote Monitoring
Before diving into remote IoT monitoring, you'll need to set up your Raspberry Pi. Follow these steps to get started:
- Install the latest version of Raspberry Pi OS on your microSD card.
- Connect your Raspberry Pi to a monitor, keyboard, and mouse for initial setup.
- Configure Wi-Fi settings to enable wireless communication.
- Update the operating system and install necessary software packages.
Once your Raspberry Pi is set up, you're ready to move on to the next steps in building your remote monitoring system.
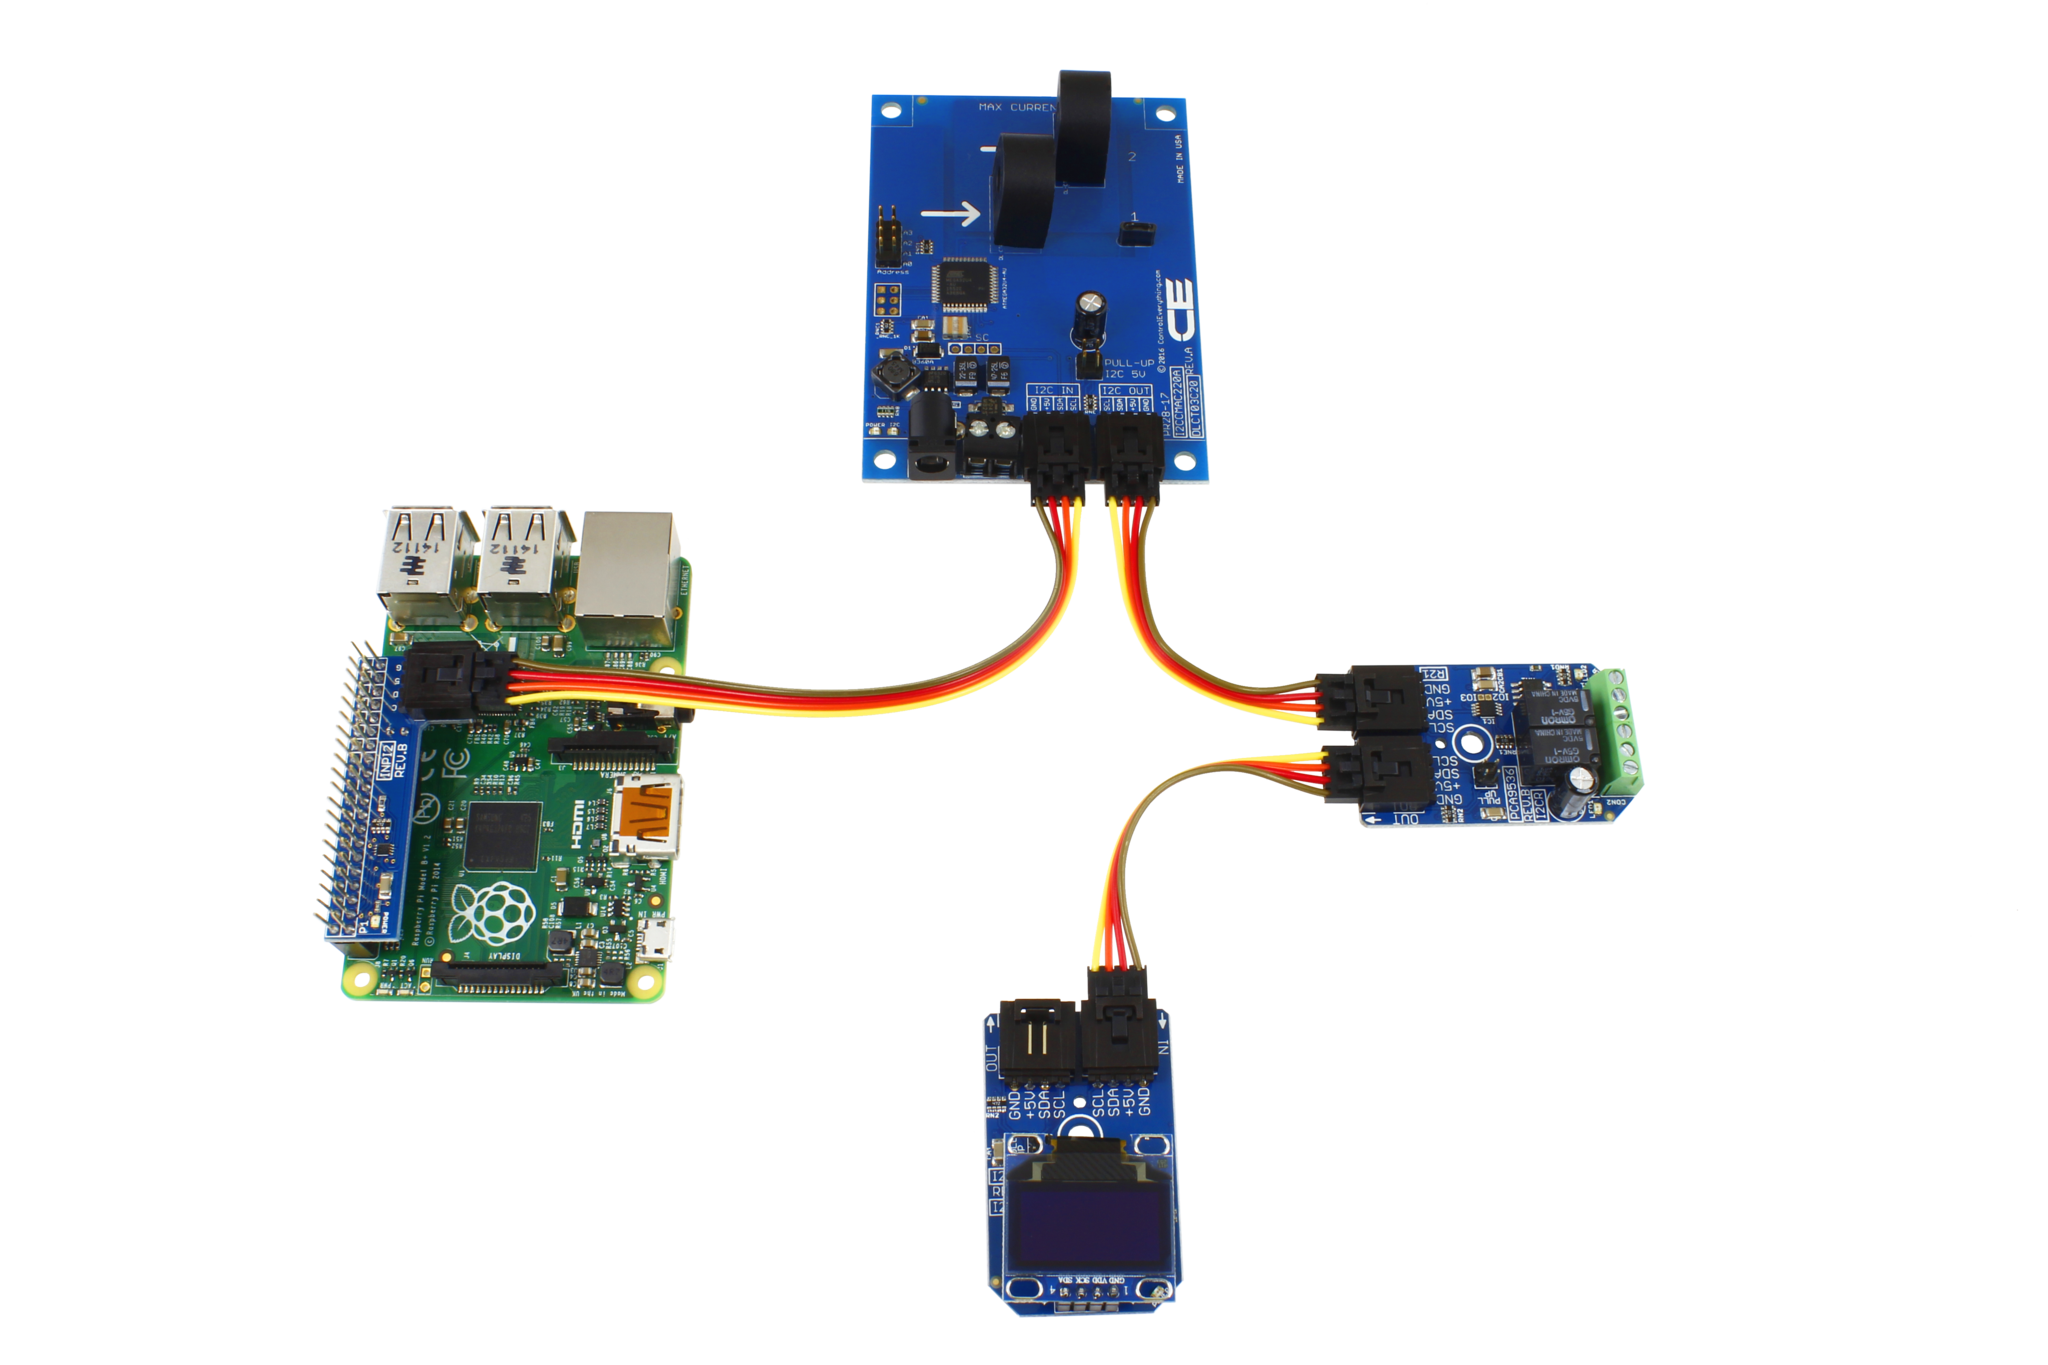
Connecting Sensors to Raspberry Pi
To gather data for remote IoT monitoring, you'll need to connect sensors to your Raspberry Pi. Popular sensors include:
- Temperature and humidity sensors (e.g., DHT11, DHT22)
- Pressure sensors (e.g., BMP180)
- Light sensors (e.g., LDR)
- Motion sensors (e.g., PIR)
Each sensor requires specific wiring and configuration. Refer to the sensor's documentation for detailed instructions on connecting it to your Raspberry Pi.
Data Collection and Management
Data Collection
Once your sensors are connected, you can start collecting data. Use Python or another programming language to write scripts that read sensor values and store them in a database or file.
Data Storage
For efficient data management, consider using a relational database like SQLite or a cloud-based solution like Google Cloud Platform or AWS. These platforms provide robust tools for storing, analyzing, and visualizing your data.
Data Visualization
To make sense of your data, use visualization tools such as Matplotlib or Dash to create graphs and charts. These visualizations help you identify trends and patterns in your monitored systems.
Enabling Remote Access
To access your Raspberry Pi remotely, you'll need to configure SSH (Secure Shell) and set up port forwarding on your router. This allows you to connect to your Raspberry Pi from anywhere in the world using an SSH client like PuTTY or Terminal.
For added convenience, consider setting up a web server on your Raspberry Pi. This enables you to view your monitoring data through a web browser, making it accessible to multiple users simultaneously.
Security Considerations
When implementing remote IoT monitoring, security should be a top priority. Follow these best practices to protect your system:
- Use strong passwords and enable two-factor authentication.
- Keep your operating system and software up to date.
- Restrict access to your Raspberry Pi using firewalls and IP whitelisting.
- Encrypt data transmissions using protocols like HTTPS or SSH.
By following these guidelines, you can ensure the integrity and confidentiality of your remote monitoring system.
Applications of Remote IoT Monitoring
Smart Homes
Remote IoT monitoring with Raspberry Pi can enhance home automation by allowing you to monitor and control devices such as lighting, thermostats, and security systems from anywhere.
Industrial Automation
In manufacturing, remote monitoring helps optimize production processes, reduce downtime, and improve overall efficiency. Sensors can track machine performance, environmental conditions, and other critical parameters.
Agriculture
IoT-based monitoring systems can improve crop yields by providing real-time data on soil moisture, temperature, and humidity. Farmers can make informed decisions to optimize irrigation and fertilization schedules.
Troubleshooting Tips
Encountering issues while setting up your remote IoT monitoring system is common. Here are some tips to help you troubleshoot:
- Check all connections and ensure sensors are properly wired.
- Verify that your Raspberry Pi is connected to the internet.
- Review your code for syntax errors and logical mistakes.
- Consult the official Raspberry Pi documentation and community forums for additional support.
With persistence and patience, you can overcome most challenges and successfully implement your remote monitoring solution.
Conclusion
Remote IoT monitoring with Raspberry Pi offers a powerful and flexible solution for managing and analyzing data in real-time. By following the steps outlined in this guide, you can create a robust system tailored to your specific needs.
We encourage you to share your experience and insights in the comments below. Your feedback helps us improve and provides valuable information to other readers. Don't forget to explore our other articles for more tips and tricks on leveraging Raspberry Pi for IoT projects.